
The iPhone comes with a system installed screen recording feature. There is no requirement to install third-party apps to record your screen. Screenshots are easy to take, but it is also easy to screen record with Apple’s screen recording feature. You may require to utilize the screen recording feature to make a clip out of a hilarious YouTube video you were watching and share it with your friends, or record the fantastic gameplay of a game to save it as a memory and so on. In today’s article we are going to talk about how to screen record on iPhone 12.
How does the iPhone make it easier to screen record?
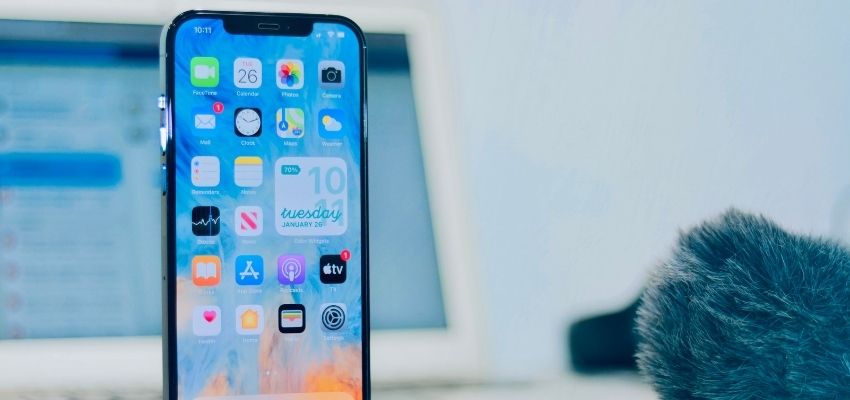
There are many video editing apps available on iPhone and iOS but instead of installing a third-party app, you can rely on the built-in feature designed by Apple for iOS devices. Users can initiate the process by opening the control center and selecting the screen record function. It’s easy to access and time friendly too. You don’t want to miss out on the once in a lifetime moment by going through the hassle of opening another app to record your device’s screen. Apple’s special feature steps in here to save the day.
Getting Started
Before utilizing the screen record feature, make sure that the feature is available in the control center. For the option to be accessible, add the button to the control center.
How to add the option to Control Centre
- Go to Settings on your iPhone 12
- Open Control Center in the settings
- Scroll down until you find the option “Screen Recording.”
- Tap the + logo beside the option Screen Recording
And you’re done. This simple process adds the Screen Recording button to your Control Centre.
Now, let’s look at how to record using the feature.
How to Screen Record on iPhone 12
- From the upper-right corner of your iPhone’s screen, swipe down.
(THIS CAN BE DONE EVEN WHEN THE PHONE IS LOCKED)
- Select the Screen Record icon ( It looks like a dot with a circle around it)
- Wait for 3 seconds for the option to come into action
- After you press the icon and wait for 3 seconds, everything on your screen will get recorded unless you stop the recording by tapping the status bar which will be located at the top left corner of the device’s screen and pressing Stop.
The video you just recorded will automatically be saved to Photos due to iPhone’s default function.
Keep in mind that, when you record the video, the audio does not get recorded by default. If you wish to record the audio along with video, then the settings need to be tweaked a little bit.
Recording audio along with the video
- Similar to before, swipe down to locate the Screen Record option
- Press the icon and hold
- Tap the option “Microphone On”
- Click on start recording
- Now, the sound is also getting recorded. In order to stop recording, follow the same process as mentioned before
- Tap the red status bar at the top left corner of the screen of the device.
- Tap Stop. Your video gets saved automatically to Photos.
After that, you can easily share the video with friends, and family and even upload it on various social platforms.
Limitations
Although the feature allows users to enjoy convenience, there are limitations to the feature. The limitation is that everything on your iOS cannot be recorded. For instance, the feature is not accessible to record from OTT platforms or video streaming platforms such as Netflix, Amazon Prime and various others. This is obviously done to stop users from pirating content. Also, there is no option to adjust the quality of the video that you recorded
However, most of the games on the iPhone can be recorded when you are playing.
One important thing to be mindful of is remembering that the feature records notifications and calls as well. Subsequently, sensitive information like passwords, email ids, bank information, and contacts might get recorded as well if you open the apps or the information on your screen. So use the feature carefully and refrain from recording sensitive information unless you are willing to take full responsibility for any consequences that may arise.