
When you’re setting up your computer, the most burdensome part will be lodging/inserting and attaching an IO shield over the motherboard, and this will be the first thing to hear from all the PC Build Technicians. Every motherboard has its own IO shield, so it may appear not so problematic, but unfortunately, it is. In today’s article, we will be talking about how to install IO shield.
We’re thankful that many skilled people have the best knowledge of the motherboard IO shield and a couple of tactics that would get us a powerful connection without causing any destruction to the shield or any portion of your build.
When attempting to locate any motherboard IO shield, you must not forget that one of the foremost things to do is the motherboard IO panel, which is needed when building your PC. If you’re about to do it, it doesn’t mean that you’ve finally installed an IO shield because it’s practically unfeasible.
There are details below to know more about installing an IO shield to the motherboard backplate of your PC. Let us know the process.
How To Install IO Shield Effectively?
How To Install IO Shield is a query that will take a short time. Therefore we ask you to take caution by reading through all the steps before starting. Remember precision is essential, and avoid shortcuts or anything that seems good enough. It has to be faultless.
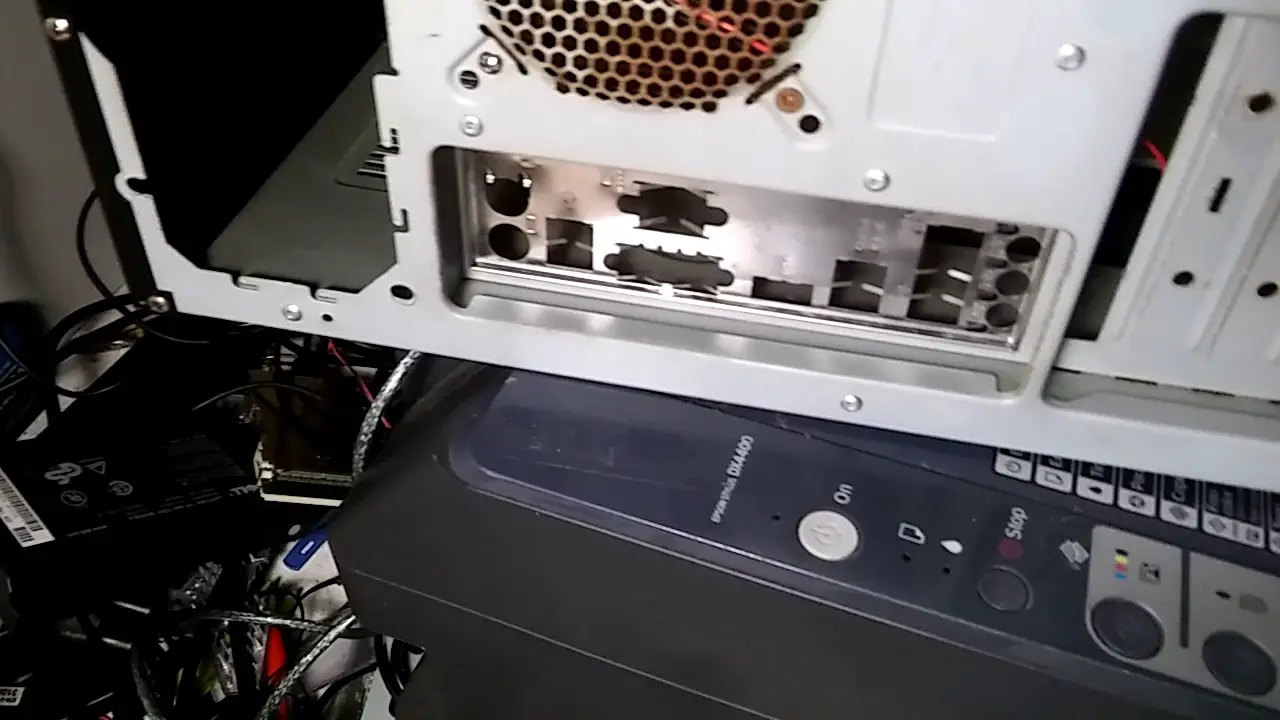
Take a reasonable time to look at your IO shield and see how it fits into your CPU’s casing. Ensure that it goes correctly; otherwise, you can damage it by going in or out.
To be confident of which direction your IO shield should go, you need to know where it shall rest on the motherboard. Once you realize, commence so that it will be easy to line up the particular IO shield along with the motherboard. It would help if you got it perfect as possible. It may require getting a second set of hands to keep it steady. Let us discuss below-;
*Focus on the details of the IO shield
It might be over simple, but there is full of information that the IO shield contains. You will eventually see roundish bumps on some parts of your shield.
These bumps work as a helping hand and avert the shield from getting displaced or falling out of the case. Speaking about the shifting, sometimes it happens, and the reason is the micro-vibrations of your case. Anytime you’re up to move your Computer or carry it to another place, they help in this type of situation too by keeping everything in their area.
*Detach all of the Wear-out fans possibly
This is the same step where you need to be more careful because inserting an IO shield generally goes inaccurate. It’s like a dare to lodge the IO shield for numerous people because there is no jerking or jiggling room in this case of yours. We usually don’t suggest removing anything from the car, so without any worries, you can get rid of the wear-out fans that happen to be not far from the IO shield brace.
After this, you can look at the braces effortlessly from various angles because the fans are all gone by then. Now you can move on to the next step after unfastening those exhaust fans (you can also click some pictures of those fans so that you can straightforwardly detach them in the future).
*Go ahead with the Installation Process
After all this hassle, you can ultimately start to install the IO shield. At first, position your CPU’s case vertically and then glide the IO shield into its proper spot.
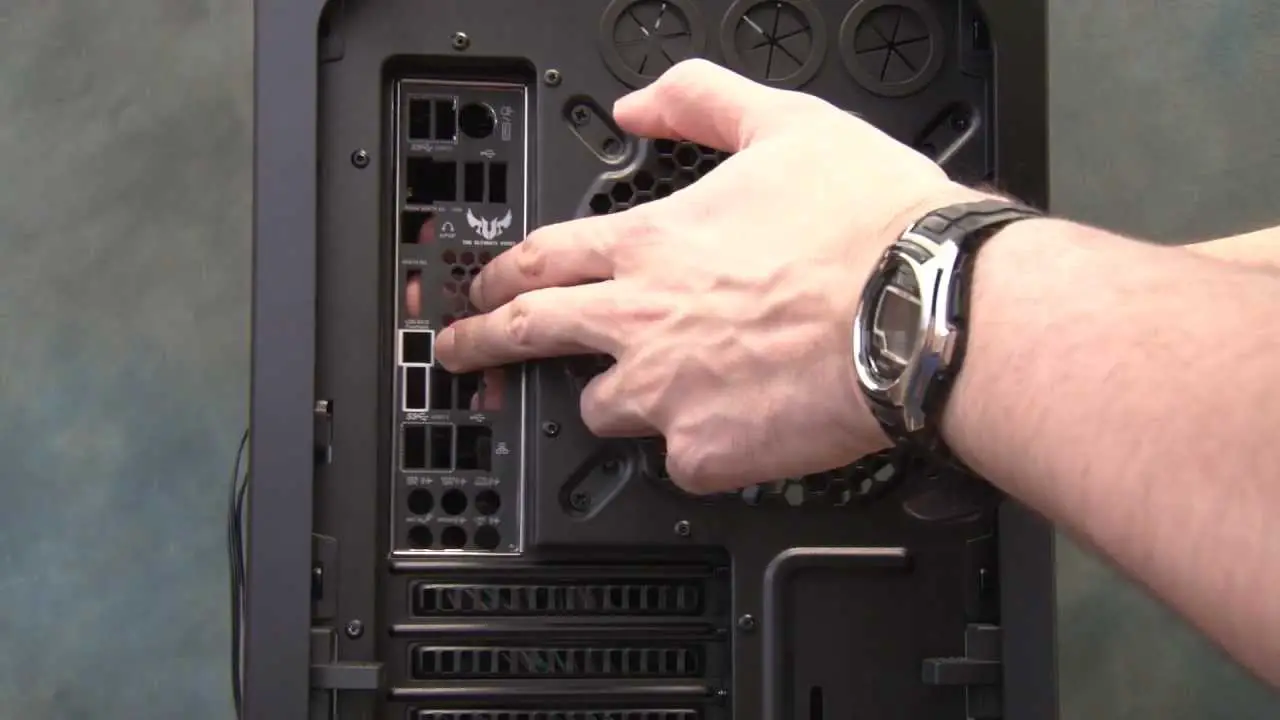
While doing this, there will be the need to appeal force, but pushing it too diligently will cause all the parts to bend over. Next, to get it to snap, you must apply pressure to the opposite lower corner. If it goes in flawlessly, you will surely hear a clicking sound. If you don’t hear one, all your efforts are in vain.
It would be best if you recalled that the bumps on the shield need to be above the metal brace of the case. If you line up them there correctly, there will be that exact clicking sound.
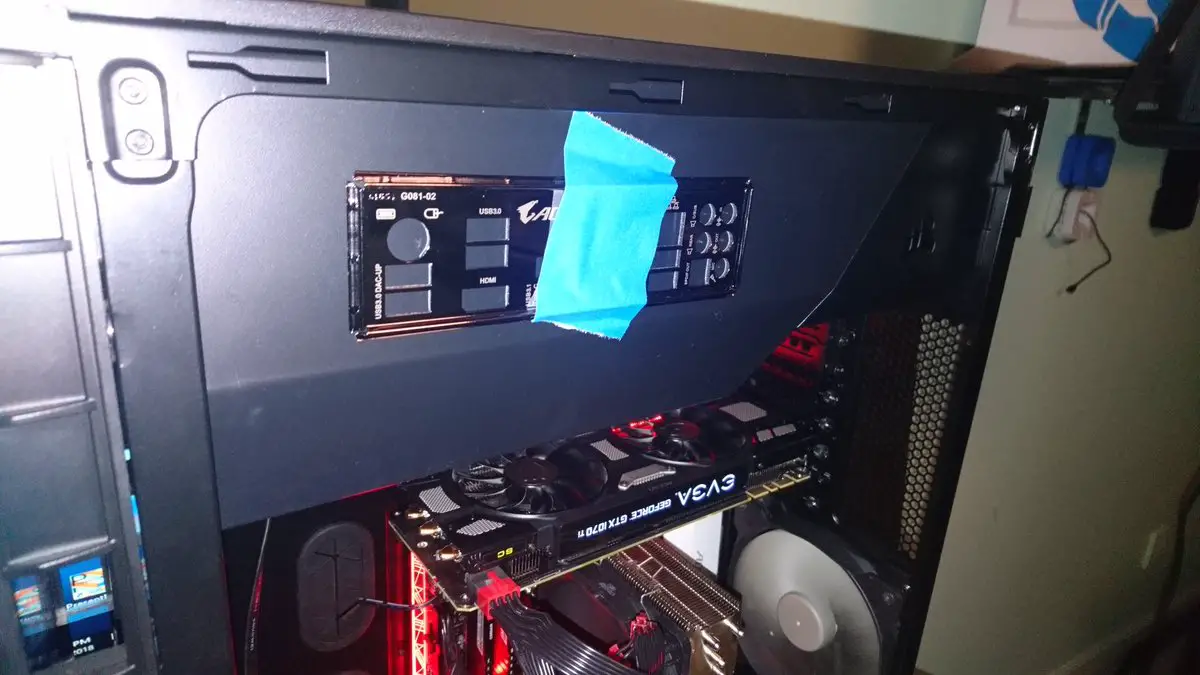
*Testify that everything is in place
After finishing every step unerringly, you need to testify that you’ve accurately fixed your shield in its place. If you notice that all of the IO shields are released, it’s relieved that the case has been installed without any insecurity.
The thought of wiggling it a little bit may appear to see if anything bulges out (but without much power). If nothing exactly happens, then your case is adequately inserted, and with no doubt, you’re good to go.
*Install the wear-out fan again to complete the operation
If needed, you can take a dry fabric and rub out all the fingerprints of your case, but only if it’s highly required. Many shields are incredibly vulnerable to fingerprints, but a few of them are immune.
*What’s as for a Custom IO shield
It would be best if you remembered how you installed a superiority IO shield because you will have to install a Custom IO shield in that exact way, which will be considered the majority set of conditions. Custom guards aren’t so difficult to insert due to their similar size provisions. You don’t have to face any hitch/difficulty as long as the remaining of your build(together with your motherboard) is personalized from the majority sizing.
You will be delivered with specific instructions, and only if your Custom IO shield holds a specific motherboard IO panel attachment will it automatically have its instructions. If you look for any other instructions with the help of a network, those detailed instructions will always substitute themselves with those networked ones.
*Habitual questions about IO shield Installation
1) An IO shield is the abridged form of the main one, the “motherboard input-output shield”. It’s a plate made of qualified metal and nearly all economic motherboards on the marketplaces nowadays. These metal plates were mainly originated to be inserted on the backplate of any computer case.
There must be a knocked-off pit on your case that originated distinctively for the IO shield. Nevertheless, of the Processor, all of the IO shields will surely fit into the ports of the back case. And it’s not much of an astonishing fact that those IO shields also originated to be adequately done on top of the motherboard.
*What’s the straightforward task of an IO shield?
Each IO shield contains two significant purposes.
Let’s begin with the first and highly imp one. So, the first job of the IO shield is to keep the motherboard and all of the elements attached to the IO panel(which adds your HDMI cord, USB parts, ethernet connections and many more) safe and sound from the EMI (electromagnetic Interference). It only comes out whenever your computer is powered on.
And the second job of an IO shield is to secure the whole system from dust, which is also essential. There is a lot of gaped space in the back of your computer where dust practically gathers and ultimately causes various troubles. That’s why you need an IO shield to give them protection.
There’s also a third reason to have an IO shield but not so important: adding a few styles to your computer with the help of an IO shield. IO shields owned by higher-end motherboards have few details to make them bang. Random and few people will get custom IO shields to provide their individual preferences.
*What’s with those metal prongs on the IO shield?
Do they have any tasks?? If you have, then what are those?
You will generally see metal prongs near the port cut-outs of a few shields. Some metal prongs will have them close to all the cut-outs, and some will be near themselves. It’s considered a design and also an accessibility choice.
These metal prints allow and guide a part of the metal to slightly and smoothly touch the other metal on the IO panel of the motherboard. You can say a “static grounding” uniting the shield and your motherboard. It lessens the chance of any electrical intervention.
Is it highly needed to use an IO shield?
You should lodge an IO shield only when your motherboard comes with it (in case it’s just a normal part of the box or, better to say, it’s already inserted on the motherboard). It won’t take much time anyway and will help you out of the lengthy run. It provides protection, and its appearance is quite good, but if you don’t want any of the mentioned offers, then the only job left for it will be gathering dust and making sure to clean the whole system.
It’s alright if you don’t know how to install the IO shield or don’t want to install it for whatsoever reason you held. And it’s not like it offers that much protection. So, it would help if you did not use it, ofc.
*What’s the process of inserting an IO shield?
There’s not much need for EMI protection, and it doesn’t concern many people because IO panels have gone digital these days. The only dangerous thing is plugging something into a post and accidentally slipping it towards the motherboard. Then, it will short out a unit. Other than this, there are no more. But there are meagre chances of happening this short-circuiting. But we can’t take this matter solemnly because the options might be down but still there to make hassle.
Some Other Questions That People Might Ask:
Does the IO shield add style to the Personal computer?
Well, yes, the IO shield adds some sort to your PC.
Necessary to use an IO shield?
Though your PC’s motherboard can run by itself without a PC case, it’s better and prudent to have IO shields to protect it. The metal plate will protect the motherboard from external things and prevent small objects from entering through the holes. The IO plate also creates good contact between the computer case and the connector.
Can I remove the IO shields?
Yes, you can remove the IO shields.
Conclusion
Here we conclude our article on how to install IO shield, and We hope now people have got the basic idea of how to install IO shield. I hope this article is useful and readers will like it for all the details about IO shield. we know people usually search for all these articles. We know people usually search for this kind of article or about tech-related. We have adjusted and stated all the facts and queries necessary about an io shield, and people might search for these answers. So this article on how to install IO shield is much explained for all the readers.