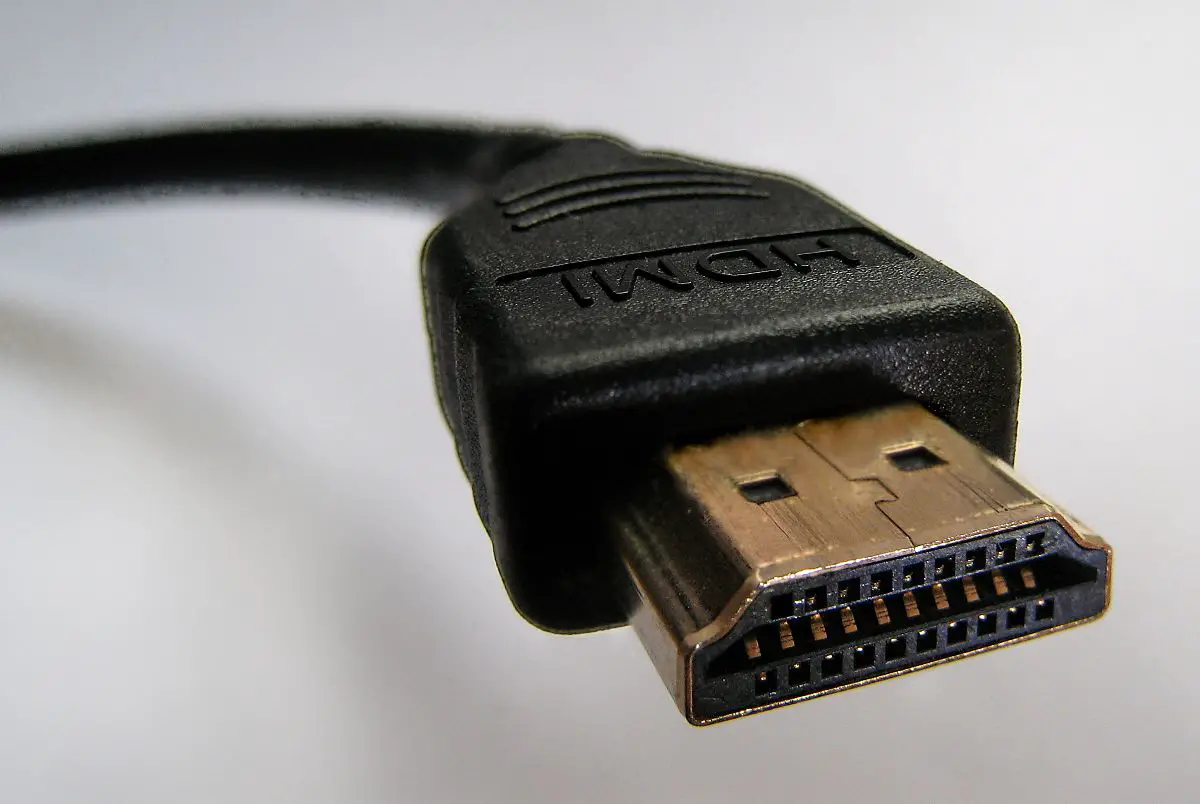
Our computers have various ports such as HDMI, VGA, USB, etc. for different sets of functions. Most of these ports are attached to the motherboard through extension wires whereas some are integrated into it.
It is troublesome to know if any of those ports are not working properly whenever you want to connect multiple devices. It might not be functional due to various reasons ranging from the simplest to the hardest. Nonetheless, in this article, we will take a look at those reasons and come up with a solution to the Motherboard HDMI not working problem.
Why is Motherboard HDMI not working?
Firstly, we will briefly discuss the reasons that can lead to a faulty Motherboard HDMI. So usually, if you’re using a number of ports together, there is still space for the remaining ports to be empty and not cause any disruption.
Even if you don’t use the HDMI port of your motherboard, it still may contain discrepancies. Some common issues are-
- Bad HDMI cable
- Faulty external device
- HDMI port is damaged
- No Integrated devices
- Integrated graphics are disabled
- Expired graphics or hardware drivers
- Display settings are not correct
- Latest display updates are not installed
How to fix Motherboard HDMI not working?
Since we are now familiar with the potential causes behind the Motherboard HDMI not working, let’s go through the quick fixes for these issues-
The initial step towards finding the solution to a problem is to find its root cause, meaning the most deep-rooted cause of the issue.
Checking your cable
Sometimes, the cause is so obvious that we miss it in ignorance and search for it in the most troublesome way like searching for a needle in a stack of hay. Most issues happen due to faulty wires and cables. The HDMI cable may have been potentially damaged which is now causing issues for you.
In order to check for the error in a faulty wire or cable, simply unplug it and connect another cable. If the new cable is working fine and not causing issues, then you know that the previous one was damaged.
Checking your device
Usually, the fault is in the device rather than the cable or wire. So, check your device before labelling a cable or wire as faulty or damaged.
What you can do is simply connect the device to the HDMI port of your GPU (if it’s available) or connect it to another functioning computer. If the device is working, then there is room for doubt about your motherboard’s HDMI.
Enable integrated graphics
If you have a dedicated graphics card for your computer, try enabling the Integrated graphics or iGPU that might have been disabled.
Additionally, the absence of integrated graphics in your system may be another reason for your motherboard HDMI not working. Although, most motherboards contain a graphics card implanted into them.
Assuming that you possess this hardware, enable it for the smooth functioning of your system. Here’s how you do it-
- Begin by restarting your computer.
- Press the key designated for your computer (Esc, F1, F2, Del) a number of times just after the system powers up to open BIOS.
- Look for “Graphics configuration” or a similar option in the BIOS settings.
- In it, search “Onboard video”, “Internal graphics”, “multi-monitor”, or “iGPU”.
- After finding the feature, enable it.
- After enabling it, restart your system and check if the computer shows the device after connecting it to the Motherboard HDMI.
Modify display settings
In order to modify the display settings, follow the steps given below-
- Press ‘Windows + P’ to go to settings.
- Select ‘duplicate’, ‘extend’, or ‘second screen’ options to view content in another display.
If you still face issues after this, then you need to go deeper into the cause. Let’s move on to another alternative.
Uninstall monitors and reconnect
The process of uninstalling monitors is given under-
- Remove the display device connected to your system.
- Press ‘Windows + X’ and tap on ‘Device Manager’.
- Search for the ‘Monitors’ option.
- Right-click on every option is shown and uninstall them except for the main on.
- Restart your computer and reconnect the device again.
- See if the system recognizes it.
Troubleshoot your hardware
A fixing tool often left out by us is ‘The Troubleshooter’. Windows OS contains a number of troubleshooters for solving various issues regarding software and hardware.
Since we’re facing an issue with the motherboard’s HDMI not working, let’s run a hardware device troubleshooter.
- Search ‘Command’ using the search icon.
- Right-click on ‘Command Prompt’ and select ‘Run as Administrator’.
- Enter the code msdt.exe -id DeviceDiagnostic and run it.
- Go to ‘Advanced ‘ on the ‘hardware devices’ troubleshooter window.
- Check the ‘Apply repairs automatically’ option.
- Continue the process as per the instructions.
- Reconnect the device to the motherboard HDMI and see if the problem is solved.
If the problem of Motherboard HDMI not working still subsists, then there is an issue with your HDMI port physically. We hope that this article has been of assistance to you in solving your problems and providing effective solutions.